
Handmade Christmas decorations often become family favorites, not necessarily for the skill with which they were crafted but for the memory they hold. Staff photos by Jennifer Greenwell
Decorations made by the people you know and love are far more valuable than anything you can purchase at a store. This Christmas, try crafting your own decorations to keep or pass along. Create a mini-Christmas tree forest of yarn pom-poms or deck the walls with a yarn tassel tree.
Whether you’re an experienced crafter or have never picked up a glue gun, these two projects are cheap and easy to assemble. Even the smallest of hands can help.
YARN POM-POM CHRISTMAS TREE
The great thing about this project is you can make a standalone tree or a whole forest. Deck them out or leave them undecorated — they are adorable on their own.
We used a thick blanket yarn to add fullness to our trees, then added a few bows of holiday plaid and velvet ribbons and cut out paper stars to dress them up a bit. Feel free to make your trees any color you like. You can even make the pom-poms with multi-colored yarn.
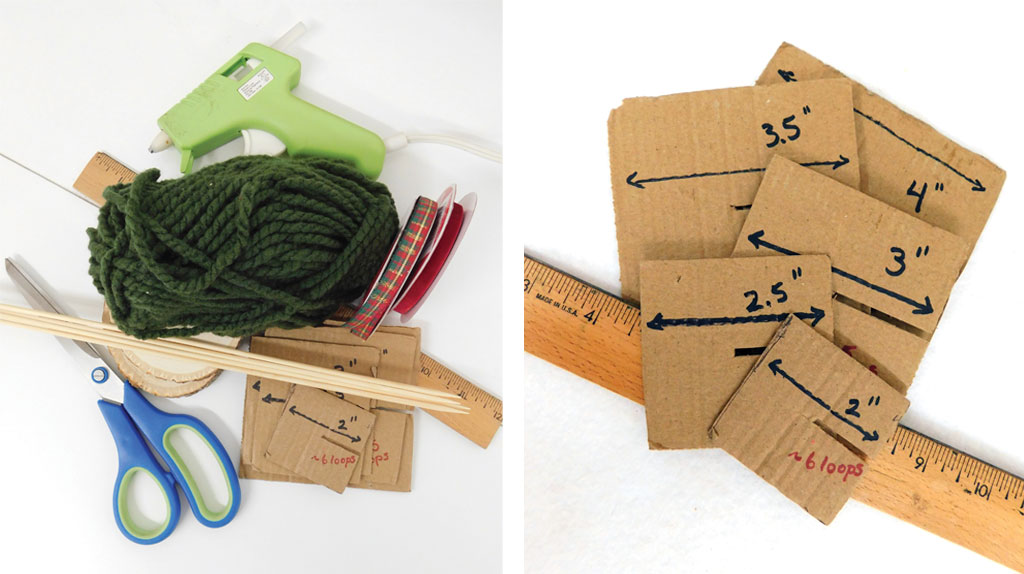
Items needed
- 1 skein of blanket yarn
- 1 wooden dowel or skewer
- 1 wood slice
- scissors
- glue
- drill and drill bit sized for the dowel/skewer
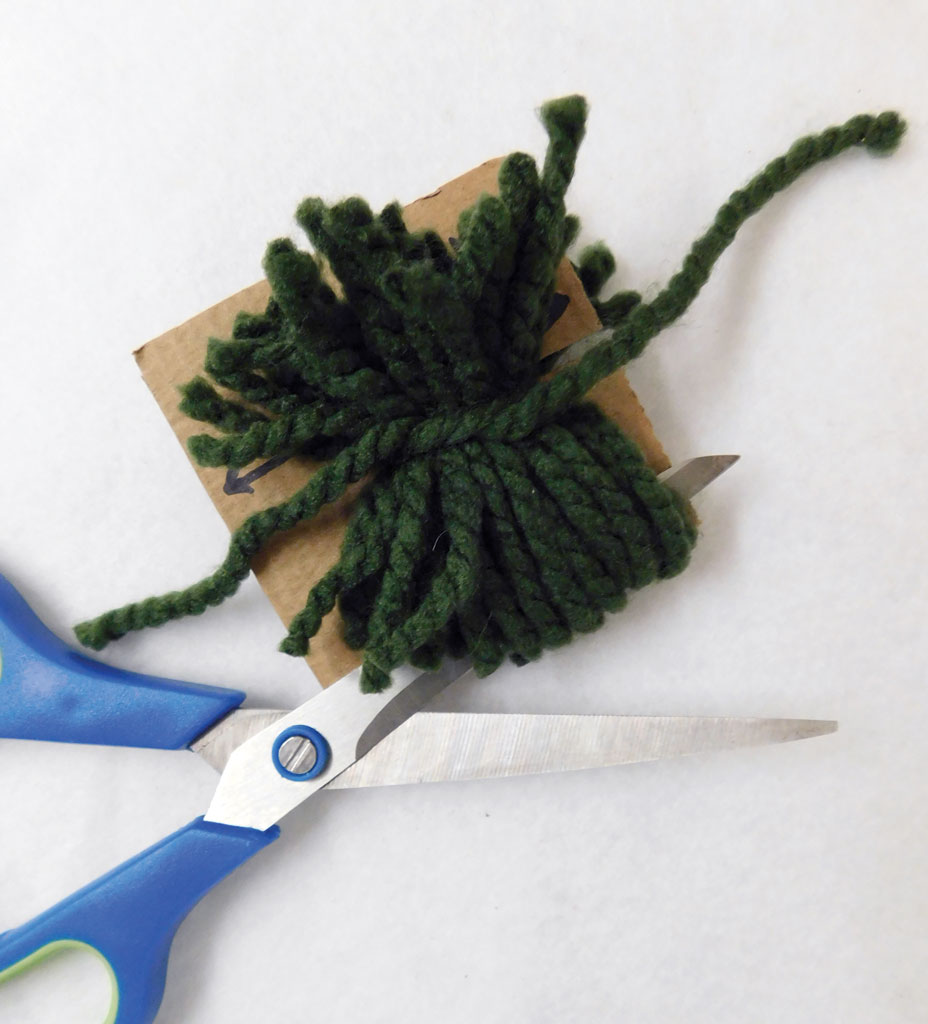
- cardboard squares to wrap yarn around in widths of 4, 3.5, 3, 2.5, and 2 inches
Wrapping guide for cardboard
- 4-inch cardboard square = 45 loops
- 3.5-inch square = 35 loops
- 3-inch square = 25 loops
- 2.5-inch square = 15 loops
- 2-inch square = 6 loops
Make the pom-poms
Each tree requires five pom-poms, one of each size listed above. To make the pom-poms, place one 8-inch piece of yarn on the cardboard form width-wise. This piece will hold together the finished pom-pom at the center.
Wrap the yarn around the cardboard piece the number of times specified for each size, then cut from the skein.
When finished wrapping the yarn around the cardboard form, cut the yarn along the top and bottom edges of the form. Tie the yarn bundle snugly in the middle with the 8-inch yarn piece and remove the form. Fluff it up, there is one pom-pom — four more to go. Move on to the next size form, wrap, and repeat for each until all five pom-poms are made.
Assemble the tree
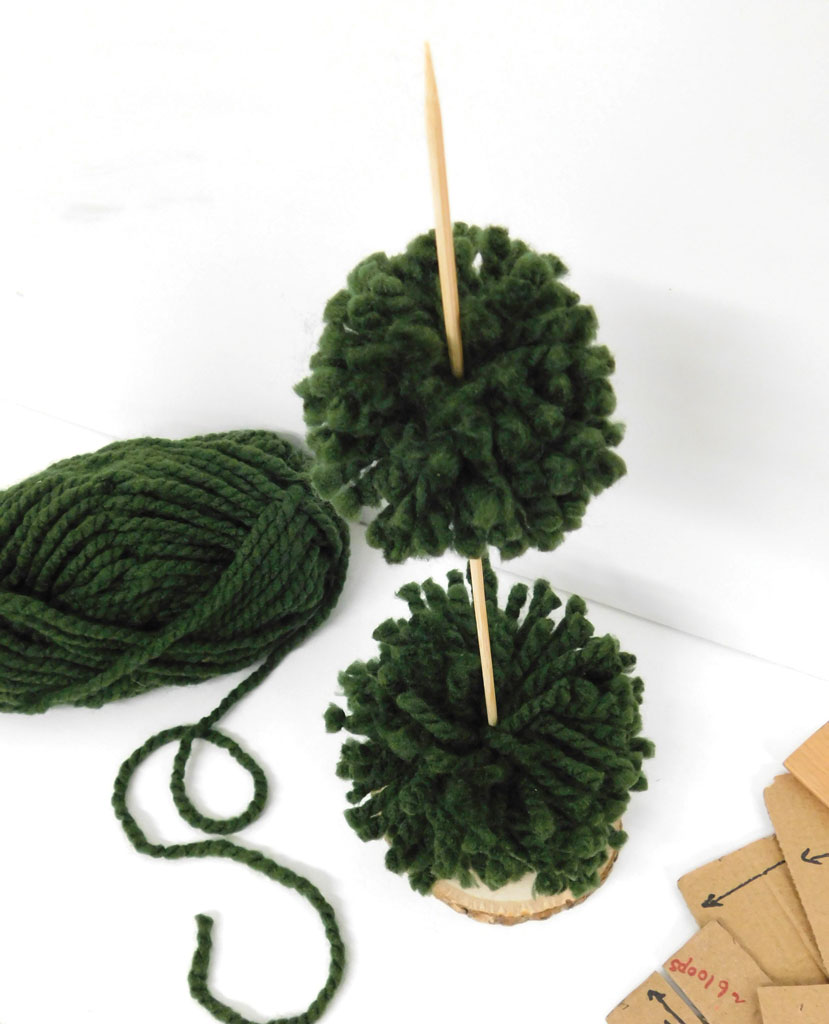
Before putting together the tree, use the drill to make a small hole at the center of the wood slice. Glue the dowel/skewer into the hole.
Place the pom-poms on the stick starting with the largest at the bottom and work your way up to the smallest. Make sure the stick runs through center of each pom-pom. Secure the pom-poms in place by tying a piece of yarn just above the center of the top pom-pom. Cut off the remaining top of the stick. Trim and shape the tree if needed. Decorate as desired.
TASSEL TREE WALL HANGING
This project can be easily customized. We used regular yarn, part of a stick from a tree branch, and a wooden plaque. If you desire a fuller tree, use thicker yarn, such as blanket yarn. We used 10 tassels to make our tree. Tassel trees can be mounted on just about anything, such as fabric, an empty picture frame, or a piece of metal or wood. Handwrite a message or paint a background before attaching your tassel tree to personalize.
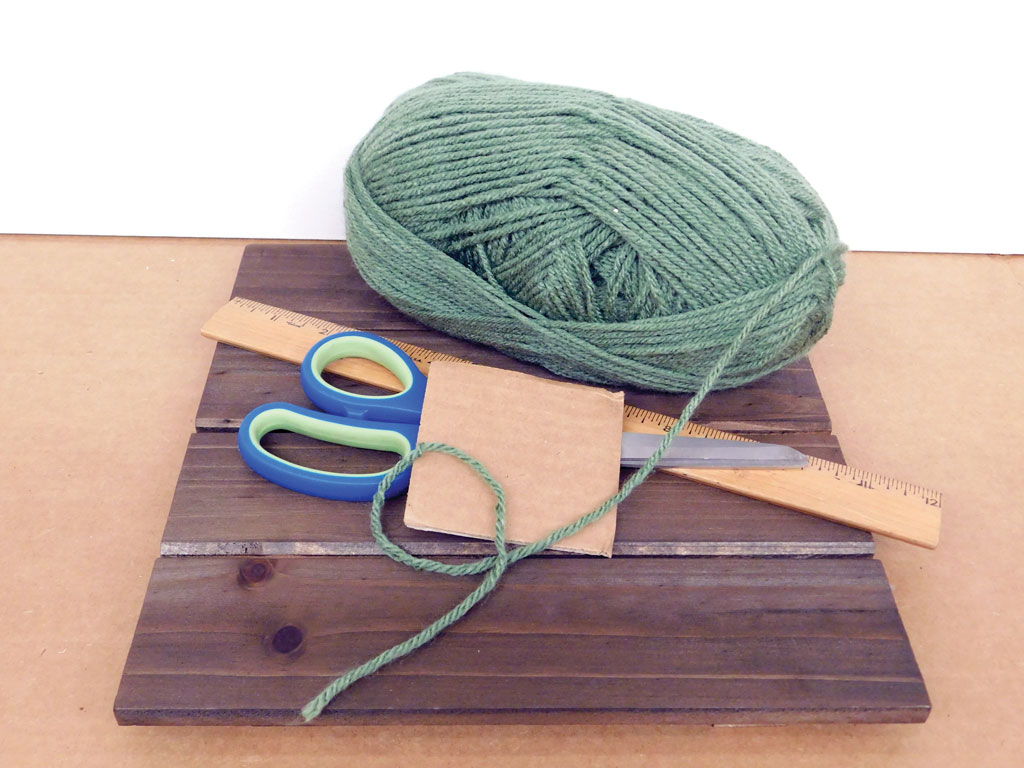
Items needed
- 3-inch square cardboard form for tassel making
- yarn
- wood/metal/canvas/fabric for wall hanging
- ribbon
- hot glue gun
- scissors
- wooden piece for tree trunk
Make the tassels
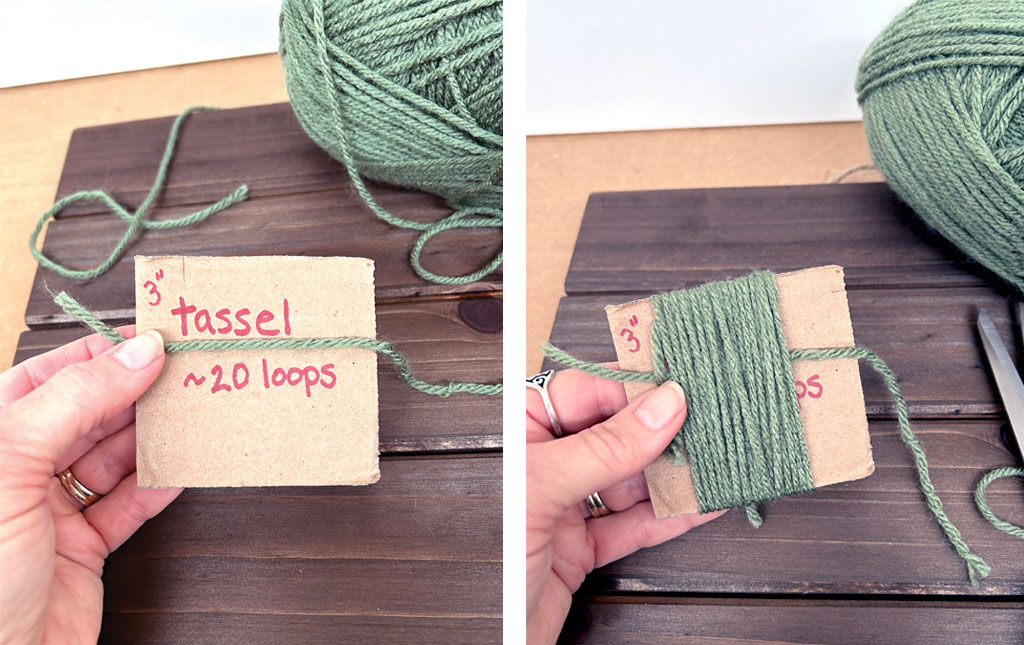
Cut a 6-inch piece of yarn, place it lengthwise across the cardboard form, then wrap the yarn around the form 20 times. Cut the yarn from the skein. Snugly tie the 6-inch piece of yarn at the top edge of the form, securing the tassel. Slide a pair of scissors through the bottom edge and cut the yarn. Cut another piece of yarn from the skein to tie about a half-inch below the top of the tassel to make the tassel “head.” Trim any strays.
Cut the looped bottom of the tassel so the cardboard slips away.
One tassel down, nine to go!
Assemble the tree
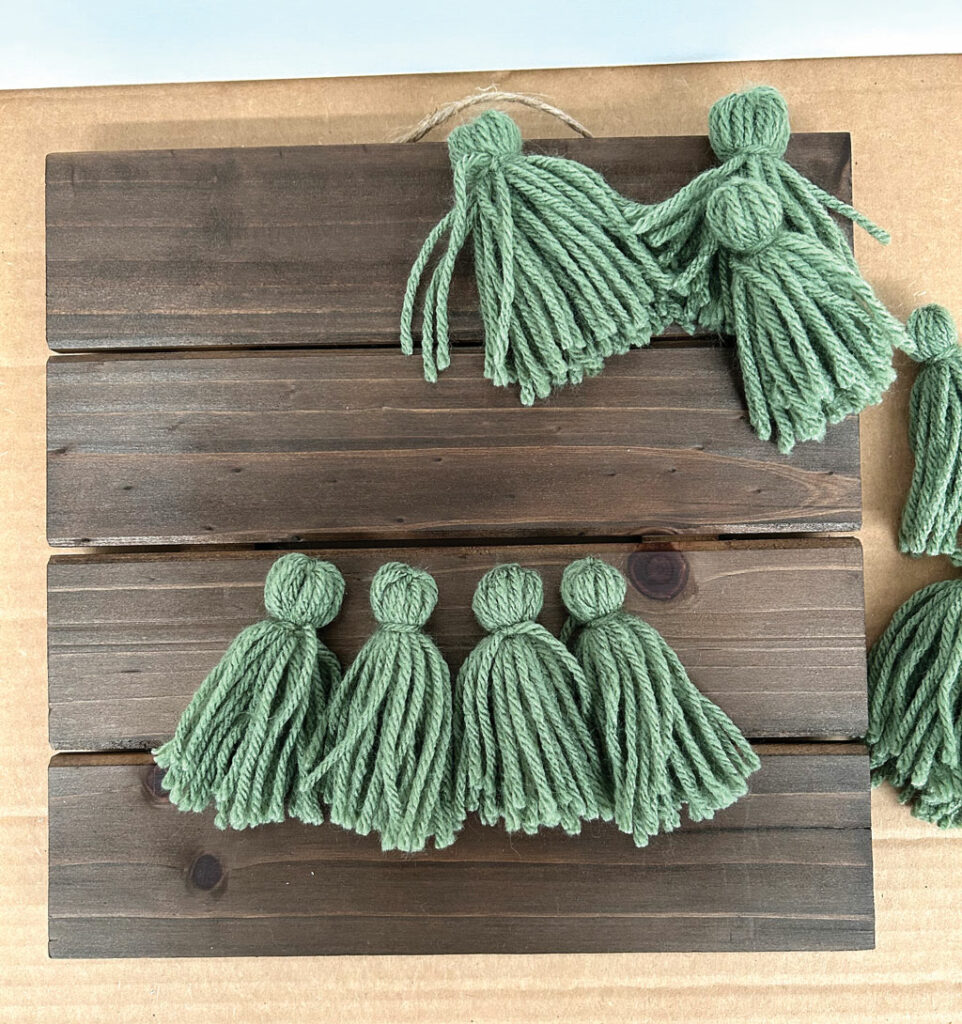
Arrange the 10 tassels in the shape of a Christmas tree, allowing a slight overhang so the tassel heads aren’t visible: 4 on the bottom, 3 above those, 2 above those, and 1 on top. Position the wooden piece in the middle under the bottom row of tassels. Glue tassels and the wooden piece to the board. Trim yarn as needed. Top the tree with a ribbon bow and star if desired.


