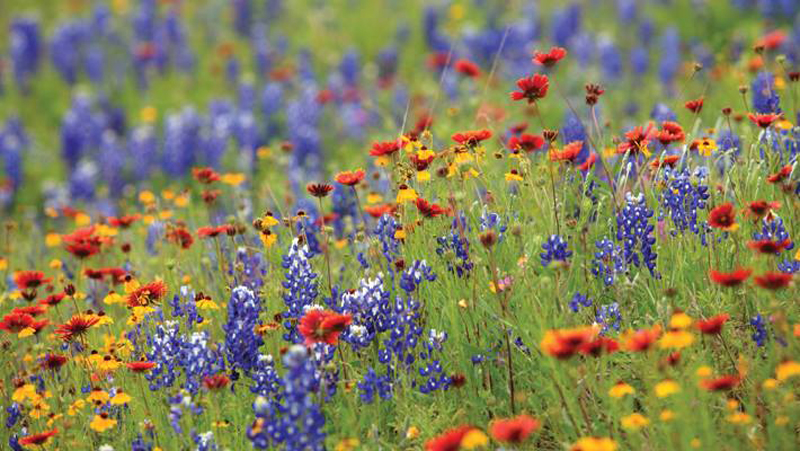
Photograph a group of bluebonnets on eye level with the flowers, as in this shot, which makes the outcropping look more full and colorful. A shot from the top down will show the dirt and leaves between the flowers and make them look sparse and less vibrant. Photos by Ronnie Madrid/Divine Radiance Photography
Professional photographer Ronnie Madrid, owner of Divine Radiance Photography in Marble Falls, recently took 101HighlandLakes.com to a patch of bluebonnets on RR 1431 west of Marble Falls to demonstrate how best to capture Texas’s state flower and other wildflowers on camera or phone.
Madrid resides in the Hill Country with his wife, two children, and two Labrador retrievers. His primary focus is wedding and commercial photography. He travels across the nation as an architecture and product photographer for Mitsubishi Electric. He also has a passion for teaching and is a high school photography instructor at Faith Academy of Marble Falls.
Here are some of the images Madrid captured on our road trip, complete with information on how he set up his shots and the camera settings he used.

This image was taken at 24 mm F11 at 1/25 of a sec., ISO 100. The subject (closeup of bluebonnets) was placed in the right-hand section using the rule of thirds. In windy weather, you’ll need a faster shutter speed to keep the picture from blurring and looking out of focus.
COMPOSITION
Photographs read like a book — your eyes move from left to right. Using the rule of thirds, mentally slice the image in your viewfinder into thirds either from left to right or top to bottom. Identify your subject — in this case a single bluebonnet — in its environment. Shift the environment to the left side of picture, leaving the main subject on the right. In the photographer’s rule of thirds, the composition of the photograph is as important as the focus.
TIP: Avoid top-down shots of flowers or people. A wildflower patch from the top down shows dirt and more leaves than flowers, making your chosen wildflower spot look scraggly. When you get to the level of the flowers, include the horizon to give your photo context.
BACKLIGHTING

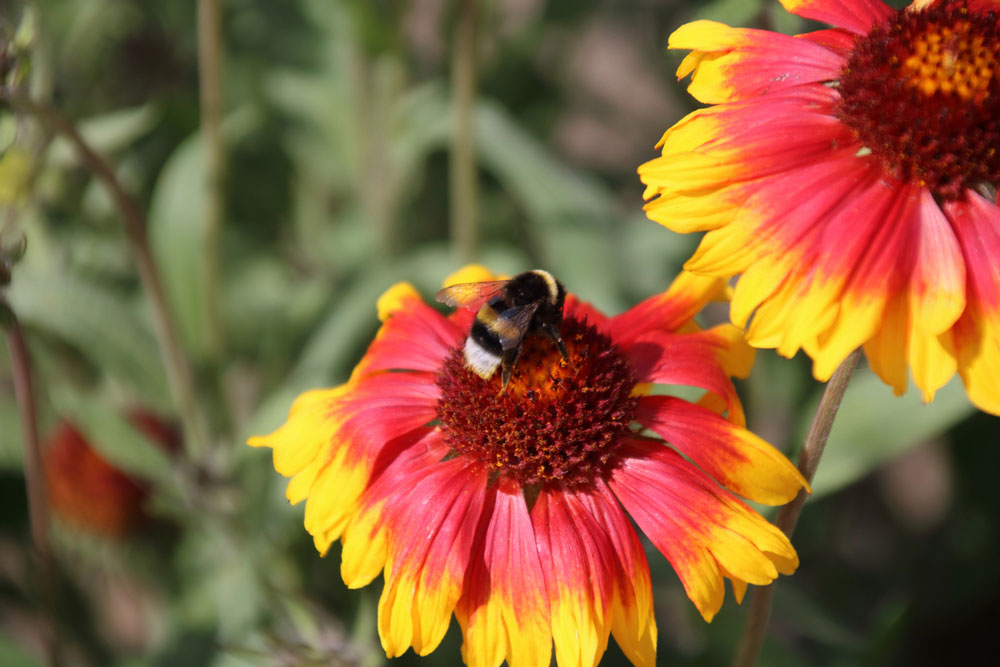
This image was taken at 24mm F11 at 1/25 of a sec., ISO 100. The back-lit image was taken vertically due to the subject’s composition.
Flowers are not solid objects. When the sun shines through the petals, it gives them an iridescent glow. To achieve the effect in the photo shown here, position yourself with the sun in front of you so it shines down at a 45-degree angle from behind the flowers. You can use a flash to front-light the subject, filling in the shadows to really pick up detail and light.
With a camera
The golden hour — one hour on either side of the day — is always the best time for outdoor photography. Set up your photo with the sunset in the background. Use a flash to overpower the shadows on the face of your subject, while not disturbing the soft, beautiful lighting in the background.
Phone
Phone flashes are not very powerful. Try a few shots with your flash on, then turn it off for another few to see which works best in the light you have. The more light you get from the sun, the better your camera phone photos.
TIP: Check your background for more than the sun when taking a picture. Make sure trees or poles are not sticking up out of your subject or cutting your picture in half. The best way to do this is to look from corner to corner in the viewfinder, noticing every detail before snapping your shot.
FOCUS ON FACES
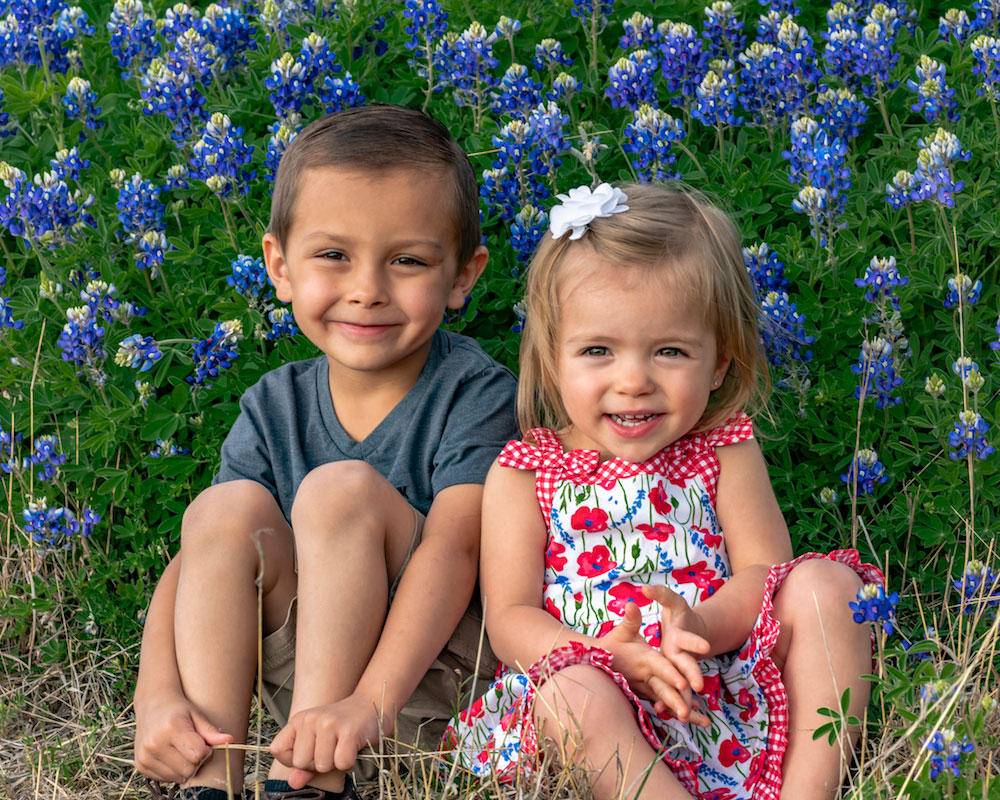
Kids and dogs are favorite subjects to plop down into a field of bluebonnets for that iconic Texas Hill Country shot. As with flowers, bring the camera down to their level. Taking your shots eye-to-eye with the subject connects viewers with the photograph in a personal way that brings your picture to life.
Camera
Set up your subjects using the rule of thirds, preferably to one side or the other of the shot. That way, if you use the picture for an invitation, announcement, or other type of printed piece to give or mail to friends, you’ll have room to add some typography. For more than one person, you can stack your subjects front and back. You’ll need to adjust your depth of field to keep faces in focus.
Phone
With a smartphone camera, you will get a better picture with the subjects in the middle of the frame. For more than one, put them on the same plane, side by side, rather than stacking them one behind the other, for more clearly focused faces.
TIP: If the sun is too bright and your subjects are squinting, have them close their eyes and listen as you count down from three to one. On one, have them open their eyes while you instantly take the photo. Practice this a few times and notice whether people are opening their eyes too wide on the count. Coach them to open them quickly and naturally. This also works well for those who consistently close their eyes every time a picture is taken. Start with eyes closed then open on the count.

This image was taken with a camera phone at eye level using manual settings at 85mm F8 at 1/60 of a sec., ISO 100. The longer focal length prevents distortion.
PREVENT DISTORTION
Getting too close to your subject causes distortion, especially with phones. The eyes start to separate and the face widens the closer you get.
Camera
With a camera, increase the f-stop — the size of aperture on your lens — to increase your depth of field. More depth of field means more faces and flowers in focus.
Phone
Some smartphones have a manual control in the photo app, which allows you to change your f-stop and shutter speed. Even if your phone does not, you can still get quality shots on your spring road trips with the kids.
With a phone, the rule of thirds doesn’t work as well. To keep your main image in focus without distortion, you will need to place it in the middle of your frame. Get up close, zoom in on your subject, then take a step back for a better focal length and less distortion.
TIP: Watch your shadow. If you are in between your subject and the sun, you’ll be casting a shadow. Make sure your shadow does not show up in your photograph as an extra person.
ADD A SUBJECT

Both of these images were taken with a camera phone. The one on the left is a closeup shot. The one on the right was taken by zooming in slightly on the face then backing up a step from the subject to increase the focal length.
Tell a story with your picture by adding a piece of the natural landscape or a touch of Texas to your wildflower photos. Landscape shots should have a subject to ground it. Good subjects are rocks, cactus, wildlife, cattle, other flowers, historic buildings, rusting tractors, cedar fences, or windmills. Remember the rule of thirds and compose your shot before taking the picture.
TIP: Smartphone photos work better if taken vertically, rather than horizontally, if your ultimate goal is to post directly to social media. This photo was taken vertically for posting.


